Installing wood-look floor tiles can transform your space into a warm and inviting environment. Many homeowners prefer this stylish option for its beauty and durability. However, knowing how to install wood-look floor tiles correctly is essential to achieving a flawless finish.
Many factors influence the installation process. Firstly, the choice of tiles and grout color can significantly impact the overall look. It's crucial to select high-quality materials for lasting results. Secondly, preparation is vital; proper subfloor assessment will prevent future issues.
While it may seem straightforward, mistakes are common. Rushing through measurements can lead to uneven installations. Taking time during each step is important. Absorbing the details can help you avoid costly corrections later. Remember, achieving a perfect look requires patience and practice.
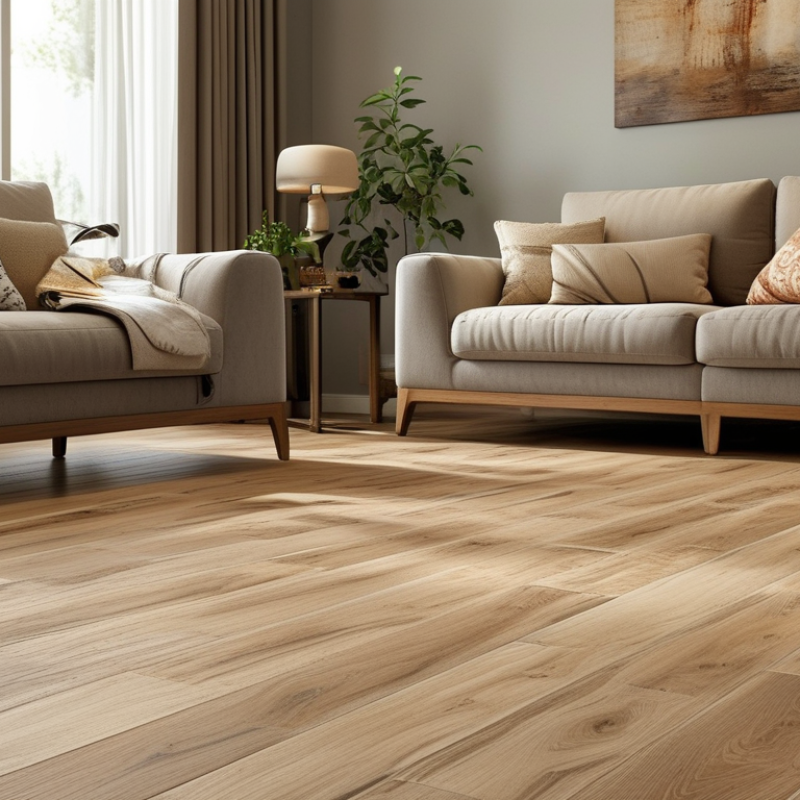
When it comes to home flooring, wood look floor tiles are gaining popularity. These tiles mimic the appearance of real wood but offer unique benefits. They are durable, resistant to moisture, and easy to maintain compared to natural wood. You can place them in kitchens, bathrooms, or basements without worrying about warping or damage.
Wood look tiles come in various types, from porcelain to ceramic. Each type has its advantages, such as superior strength or a realistic finish. The choice largely depends on your specific needs and aesthetic preferences. You might want tiles that look almost indistinguishable from real wood. However, it’s essential to note that some cheaper versions may lack the texture and depth seen in higher-quality options.
Installing these tiles can be a bit tricky. Proper surface preparation is crucial. Ensure the subfloor is cleaned and leveled. If not, it could lead to uneven tiles and a poor finish. Always consider consulting with a professional if you are unsure about the installation process. Sometimes, the easiest choice might not be the best. Prioritize quality over cost for a long-lasting and attractive floor.
When preparing to install wood look floor tiles, ensure you have the right tools. A tile cutter will help you make precise cuts. A notched trowel is essential for spreading adhesive evenly. You might also need a rubber mallet for gentle tapping and spacers to maintain consistent gaps.
Gather all your materials before starting. This may include the tiles, tile adhesive, grout, and a good-quality sealant. Ensure everything is on hand. Missing items can lead to frustration or delays.
Check your subfloor before beginning. It should be clean, dry, and level. Uneven surfaces can result in poor tile placement. If issues arise, consider leveling compounds or additional underlayment. Remember to take your time during installation. Rushing can lead to mistakes, which are difficult to fix later on.
Installing wood look floor tiles can transform your space beautifully. Start by gathering the necessary tools. You will need a tile cutter, adhesive, and a level. Measure your area carefully for accurate tile placement. Customizing the layout can create a stunning visual effect.
Tips are essential for a successful installation. Ensure your subfloor is clean and dry before starting. Uneven surfaces can lead to poorly laid tiles. Consider a dry run before applying adhesive. It helps you visualize the end product and catch layout issues early. Also, allow for expansion joints. They prevent cracking in fluctuating temperatures.
As you install the tiles, be mindful of grout line consistency. Inconsistent lines can distract from the overall aesthetic. A little patience goes a long way. Keep a wet cloth handy for quick clean-ups, especially with adhesive. Mistakes happen, and rectifying them promptly is crucial. Take your time; the goal is a flawless finish that looks great and lasts.
Maintaining your wood look floor tiles is crucial for longevity and appearance. Regular cleaning is essential. Sweep or vacuum your floors frequently to remove dirt and debris. Use a damp mop with a pH-neutral cleaner, but avoid excess water. Too much moisture can warp your tiles over time.
To prevent scratches, place mats at entryways. This simple step traps dirt and grit that can cause damage. Furniture pads are also beneficial. They protect your tiles from scrapes when moving objects around. Regularly inspect high-traffic areas. Look for signs of wear and tear, addressing them promptly.
Humidity levels play a significant role in tile care. A dehumidifier can help during the wet season. If your floors start to look dull, consider applying a specialized tile polish. This will revive the gloss without compromising the finish. Remember, over-polishing can create a buildup, leading to a less appealing appearance. Observe your flooring's look and feel regularly for any necessary adjustments.
When installing wood look floor tiles, avoiding common mistakes is crucial. Proper preparation can save you from costly errors. One frequent oversight is skipping subfloor inspection. An uneven or damaged subfloor can lead to tile cracking. It’s essential to level the surface before laying tiles. Another mistake is neglecting to acclimate the tiles. If the tiles haven’t adjusted to the room’s temperature and humidity, they may expand or contract post-installation.
Choosing the right adhesive is also vital. Using the wrong type can affect durability. Ensure you select an adhesive designed for the tile’s material. Many installers rush this step, leading to tiles that lift or break. Also, consider grout spacing. Incorrect gaps can alter the visual appeal. Tight spacing may cause chips, while wide gaps can look uneven.
Lastly, some may rush the installation process. Patience is key. Taking the time to double-check measurements prevents misalignment. Even a slight deviation can disrupt the entire floor’s aesthetic. Mistakes often go unnoticed initially but become glaringly obvious over time. Pay attention to details to ensure a polished finish.
: You will need a tile cutter, notched trowel, rubber mallet, and spacers.
Ensure all materials are gathered and the subfloor is clean, dry, and level.
An uneven subfloor can result in poor tile placement and future issues.
Sweep or vacuum frequently and use a damp mop with a pH-neutral cleaner.
Avoid using excess water, as it can warp your tiles over time.
Place mats at entryways and use furniture pads to protect against scrapes.
Consider applying a specialized tile polish to revive the gloss slowly.
Regular inspections of high-traffic areas can help address wear and tear early.
Maintaining appropriate humidity levels prevents damage during wet seasons or excessive dryness.
Rushing may lead to mistakes that are difficult to correct later on.
Installing wood-look floor tiles can dramatically enhance the aesthetic of your space while providing the durability of traditional tiles. To begin, it's essential to understand the different types of wood-look tiles available and their benefits, such as easy maintenance and versatility in design. Preparation is key; gather the necessary tools and materials to create a seamless installation experience.
When you're ready, follow a detailed step-by-step guide on how to install wood-look floor tiles effectively. After installation, proper care and maintenance will ensure your floor remains in top condition. Be mindful to avoid common mistakes during the installation process, such as incorrect spacing and inadequate subfloor preparation, to achieve the best results. With careful planning and execution, you can successfully transform your flooring with wood-look tiles.

Rock Stone